Outlook tips
Create a shortcut that inserts a preformatted inline note placeholder into Word or Outlook

Why inline notes?
A numbers of options exist for lawyers wanting to insert notes or commentary into a Word document or Outlook email.
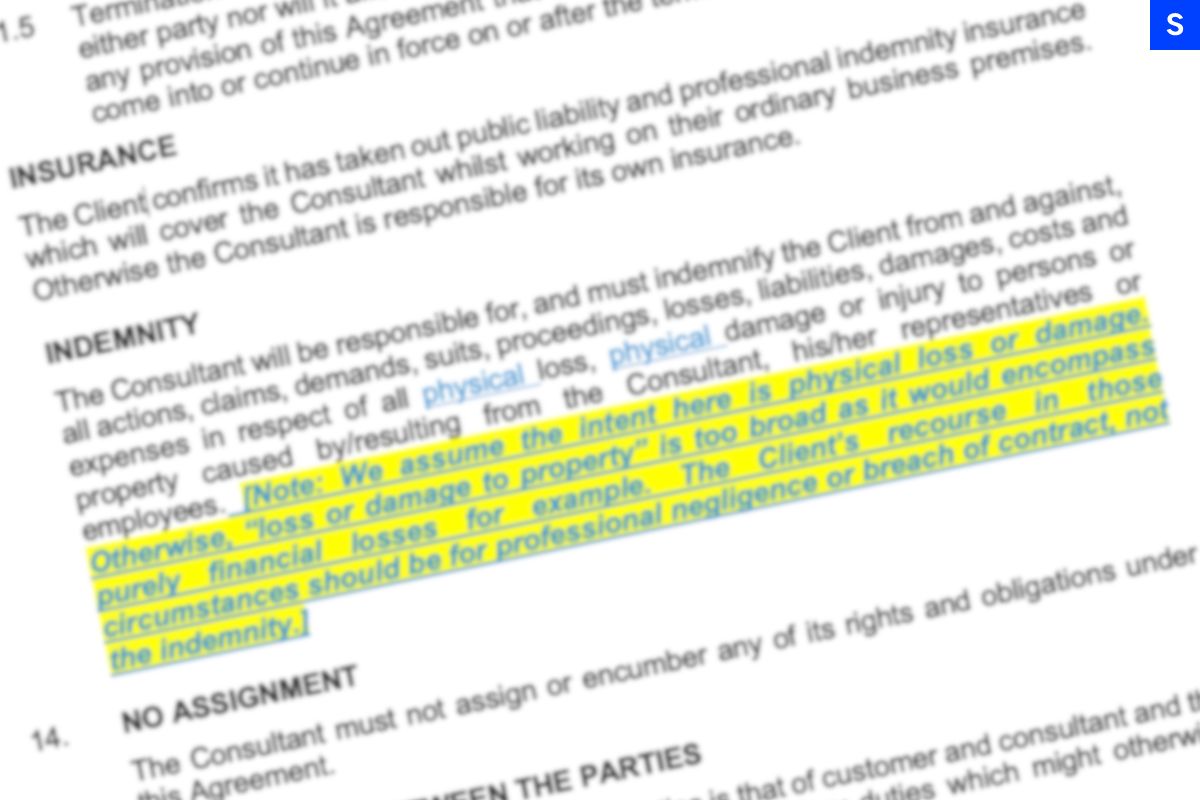
- Inline note: Perhaps the most common method, this involves inserting something like “[Note: Change made to clarify that minor breaches will not result in an event of default.]” immediately following the text to which it relates. An example can be seen in the cover image to this article.
- Footnote: Some lawyers prefer using footnotes to avoid cluttering the main document with commentary. The downside is that important information contained in those footnotes can easily be missed by readers. Footnotes are not possible for emails, as emails do not support footnotes.
- Comments feature in Word: Variously known as ‘comments bubbles’, ‘comments boxes’ or ‘comments balloons’, this feature allows a user to select a passage and attach a comment to it. Other users can reply to that comment, creating a self-contained message thread that can go back and forth as many times as needed. While popular with in-house teams, this feature is not typically used as much within law firms, likely because it’s not really designed for internal collaboration on the wording of the comment itself. The comments feature is limited to Word, and cannot be used in emails.
As you can see from the above, inline notes are generally the easiest and most flexible for law firms to use. There’s one key drawback though. Because they are inline, formatting (i.e. some combination of bold, italics, colours or highlighting) must be applied to distinguish them from the rest of the document or email. But of course nobody wants to waste time fiddling with formatting.
Fortunately, there’s an easy way to create and customise a preformatted inline note placeholder in Word or Outlook. Here’s how to do it.
Follow these steps to create a customised, preformatted inline note placeholder
- Open a new document in Word, or a new email in Outlook, and enter your note placeholder exactly how you want it, for example: [Note: ]. Feel free to add colours or highlighting if you wish.
- Select (i.e. highlight with the cursor) the placeholder you just entered. Don’t select any space immediately after it, you want to select the placeholder and nothing else.
- In Word, go to File > Options > Proofing and select AutoCorrect Options. Or in Outlook, go to File > Options > Mail > Spelling and Autocorrect and select AutoCorrect Options.
- In the text box that says ‘Replace’, enter the shortcut you want to trigger the placeholder. For example: /// or /Note
- Ensure the radio button that says ‘Formatted text’ is selected.
- Click ‘Add’, then ‘OK’ as many times as needed to close the various dialog boxes.
Now, when you type the trigger from step 4, your comments placeholder will automatically appear.
If you found this tip useful, please share it with your colleagues!
Share this article
